


Moving to Australia on a working holiday visa is one of the best things I’ve ever done! The fact this kind of visa exists is absolutely incredible and I believe everyone who can take advantage of it should. Here is everything I recommend doing before you leave and after you arrive to set yourself up successfully.
Before You Land in Australia
Check if You’re Eligible for an Australian Working Holiday Visa
The United States is a participating country in Australia’s Working Holiday Program! However, being a citizen unfortunately isn’t enough to qualify on its own. For starters, it’s important to note there are two versions of this visa: subclass 417 and 462.
As a US citizen, you would need to apply for the subclass 462! The biggest thing to pay attention to is the age requirement, as you must be age 18-30 (inclusive) when you apply. You can even be 31 after your application is submitted, but you can’t be older than 30 when you apply! Sorry, but those are the rules.
Other requirements include:
- You must have a Senior Secondary Certificate of Education or equivalent (high school diploma or GED)
- You must have at least Functional English
- Have at least AUD5,000 (approx $3,250) for your initial stay
- Meet the health requirement
- Meet the character requirement
- You must acknowledge the Australian Values Statement
You can see all requirements on the Australian Immigration Website.

Apply for Your Australian Working Holiday Visa
Once you determine you meet the requirements, get all your materials together to submit your application! This application may seem intimidating. As someone that’s filled it out, I promise you can absolutely do this on your own! Set aside about an hour to get it all done, but it shouldn’t take you more than 30–45 minutes.
Make sure you apply only on Australia’s Official Immigration Website! There are sites out there that try to look like it and services that will charge to fill it out for you. Be careful! You don’t want to get scammed.
As of August 2025 the application fee is AUD670.00 (approx $435).
Once you hit “submit” on your application, the wait time can be anywhere from instant to eight weeks. You can use their visa processing time guide tool to see current wait times, but they will email you once they’ve processed your application. As a reference, mine took 66 days with no updates! So don’t be disheartened if it feels like it’s taking awhile.
Decide Where to Start in Australia
This is a great thing to research while you’re waiting on your visa decision (unless you were lucky and got an instant grant)! What you want to do on your working holiday is 100% up to you, but you need to start somewhere. Look into what interests you!
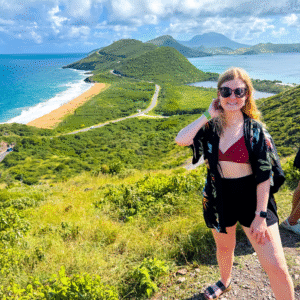
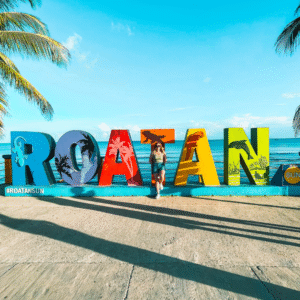
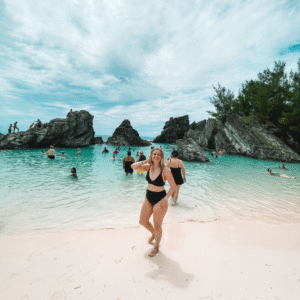
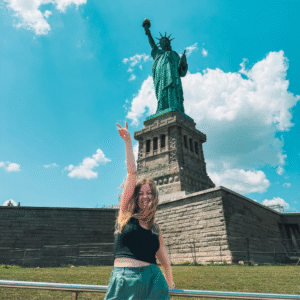
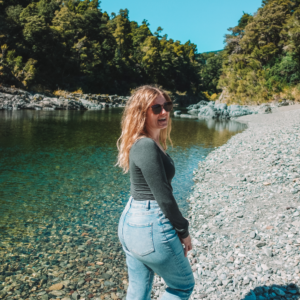
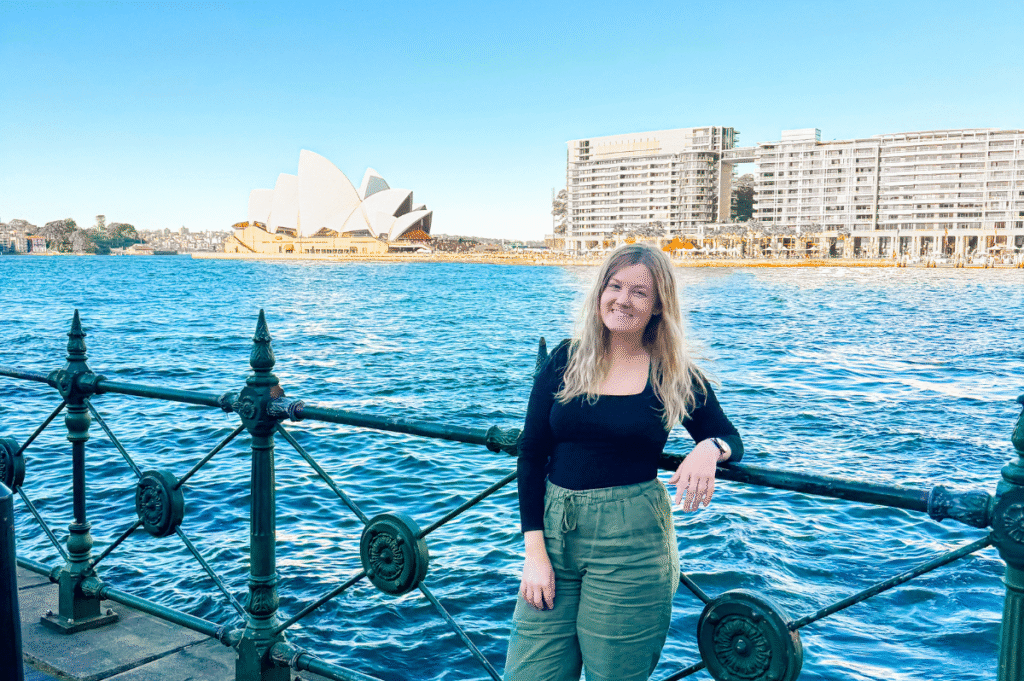
Maybe you want to hit the ground running and start off in Sydney to check out the sites. Perhaps you want to go straight to Melbourne or the Outback and find work right away. Whatever you choose, start mapping out how you’re going to get into the country and where you’ll recover from jet lag for at least the first week.
I started in Sydney for site seeing before moving on! There’s no way I was missing the Opera House!
Get Travel Insurance
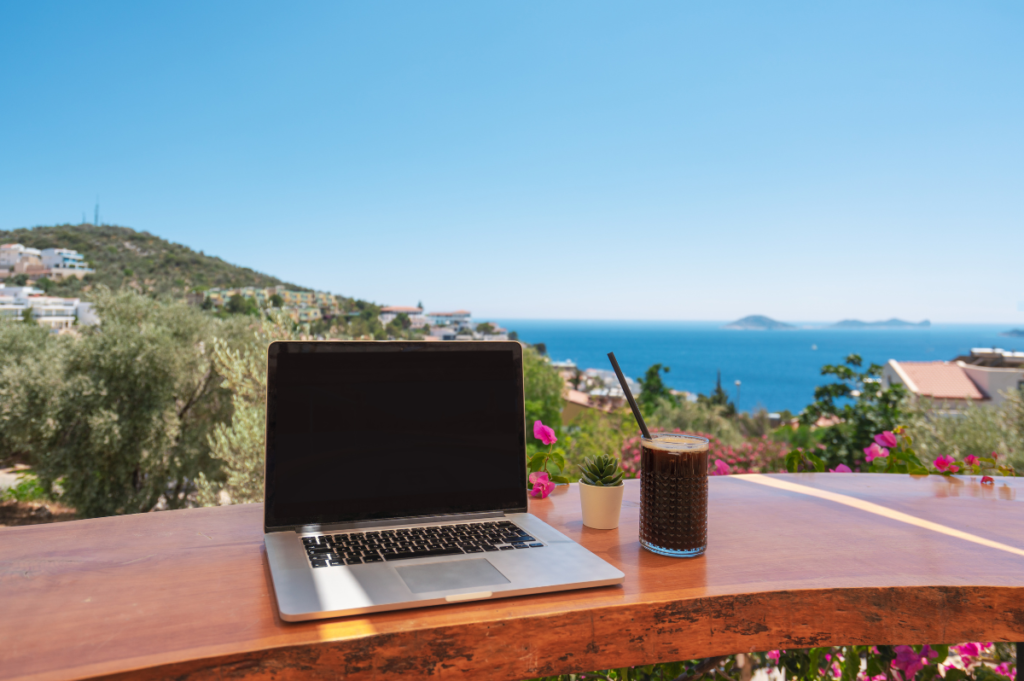
Once your visa is granted and you’re ready to start booking travel arrangements, set this up so everything is protected! You’ll want to make sure not only is your travel protected but also your stuff. If you spill coffee on your laptop or crack your phone while in Melbourne or driving through the Outback you’ll want to make sure you can get it replaced or repaired without shelling out hundreds or thousands of dollars.
My stuff is covered through USAA, which I know not everyone can get. If you are able to have an account with them they were great when I explained where I was going and what my plan was. I was able to get a plan that protected my belongings while on the move which is awesome! They did still need a US permanent address, which you should also make sure you have. You could use your parents or a friend if they’re willing. There are also companies out there that can provide one as a service.
Book Your Flight
Make sure your visa is granted before you do this! The worst thing would be to book a flight and then have to cancel because your visa is either still processing or was denied (this isn’t common btw). You also can’t enter Australia without a visa or ETA and most likely won’t be allowed on the plane without it. You don’t need an ETA if you’ve been approved for a WHV!
Hopefully you have some flexibility on when you can leave to get a good deal on your flight! I would recommend starting on Google Flights and playing around with their price calendar. You should be booking a one-way ticket, you don’t need to have a return ticket. Make sure you have enough money to leave though once your visa is up.
If you want to book on points, I would recommend installing the Points Path extension to see what transfer options you have. I booked my flight via Alaska Airlines with their partner airline American for 42.5k points + $38 in taxes and fees. I transferred points from Hawaiian over to Alaska and also from my BILT MasterCard to Alaska. It’s my favorite redemption to date!

Sort Out Your First Week’s Accommodation
Once your flight is set, you need somewhere to stay once you actually get to Australia. Accommodation is going to be one of your biggest expenses, so you might want to try staying at a hostel to save on costs. You can start by booking just a few nights at a time. That way, if you don’t like the spot, you can easily just go somewhere else. If it works out, you can also simply extend your stay as long as there’s availability.
My first stay was booked with Nomads Sydney for three nights, then I moved to YHA Sydney Harbour, and finally YHA Sydney Central. I really loved YHA! Make sure to download their app!
Hostels can run from $25-$120 per night depending on location and if you get a shared room vs a private one. In comparison, hotels will typically cost you closer to $150+, especially in the big cities. However, if you want to book your first night in a hotel just for some peace and quiet to adjust and then switch to a hostel, that’s another option! When I arrived, it was the weekend of the Sydney Marathon, which I wasn’t aware of before, so hotels were super expensive!
Set Up a Travel Card
You’ll want to make sure you have a credit card that doesn’t charge foreign transaction fees. As you won’t be in the United States for at least 12 months, those fees will add up very quickly! It’s very outdated to charge them anyway. Check your current cards to see if you already have one!
If you need a good travel card, my favorite intro cards are BILT (no annual fee) and the Chase Sapphire Preferred ($95 annual fee). If you want a more premium option, I love my Capital One Venture X ($395 annual fee)!
Set Up Health Insurance
Unfortunately, the United States does not have an agreement with Australia for their Medicare system. So you will need to get private health insurance. The provider I signed up with is Safety Wing! They’re heavily recommended by not only those on Working Holiday Visas but also digital nomads. They work on a subscription basis so you pay month to month and can cancel at any time.
The Essential plan is about $56/month which covers the basics including new issues that occur while traveling, hospital stays, and even lost luggage and emergency evacuations. If you want even more coverage, their Complete plans run about $161/month and includes everything in the Essentials plan plus routine and emergency care, wellness therapy, mental health care, and more. Pricing does vary based on age, but these are the costs for those 18-39 as of August 2025.
Worst case scenario, Australia’s public hospitals do treat everyone for free in cases of an emergency. Actual emergencies.

Set Up a Wise Account
Since Australian dollars are what you’ll be earning in, you’ll probably want an inexpensive way to convert back into USD if you need to pay off US credit cards. What’s great about Wise is it’s an all-in-one where you can set up accounts in multiple currencies, have account and routing numbers, and easily convert into other currencies with low fees.
I made sure to set mine up before leaving the US so I could get the physical debit card, which does cost $9. If you want the virtual card only, you have to preload $20 onto it. Personally, I think getting a physical one is best so you can also use it to pull out cash if needed, and you can still add the virtual one to your phone’s wallet with no extra charge.
The app is also super user-friendly!

Get Your Responsible Service of Alcohol Certificate (Hospitality Jobs)
If you plan to work anywhere that serves alcohol like a bar or restaurant, you need to get a Responsible Service of Alcohol (RSA) certificate. This is a legal requirement! Some places may hire you without one, but you’ll be required to get it soon after employment. As a working holiday visa holder, it would be better to get this before applying to jobs!
The course takes anywhere from 6 to 12 hours to complete and can be done online. In order to complete the certificate, you will need to attach a Unique Student Identifier (USI) which you can’t apply for until you get through customs and activate your visa. Thankfully, you can apply for one as soon as you’re through immigration! So don’t fret your certificate can’t be 100% completed while in the US, but don’t forget to finish it either!
I got my RSA through onlineRSA!
If you’d prefer to take a class in-person, you can also do this once you get to Australia.

Prep an Australian CV/Resume
If you’re not planning on looking for a professional position you don’t need to be as strict on the formatting of this. However, the Australian resume format is a bit different than the US. I got a template from Arielle and filled it in with my most relevant information for hospitality jobs. The template has a ton of information in there to help you, it’s not just random text!
Get Australian Data for the First Week
Don’t expect your US phone plan to work in Australia, it probably won’t. Having data once you hit the ground will make your life much easier until you can get a phone number if you choose to do so.
My favorite eSim provider is Holafly as they’re super simple to buy and install. You can always buy another one if you need and the more days you buy the cheaper the per day rate is.
After You Land in Australia
Get an Australian Sim Card and Phone Number
If you don’t have a physical slim card slot like me (stupid Apple got rid of it), thankfully plenty of Australian providers offer eSims! If you have a slim card slot, you will have more choices.
The largest provider in Australia is Telstra as they have the most coverage across the country. The second largest is Optus, and then you have Vodafone which all offer eSims. I went with Optus due to cost and chose a 1-year prepaid plan. Make sure to check the coverage maps to confirm where you’ll be going has coverage for the provider you’re looking at. This can be a real issue in Australia! Less so on the east coast, but definitely once you start moving more across the country.
If you’re interested in a budget provider that runs on the big networks here are some options:
- Boost Mobile Australia – this one can be tricky because you need to have the app on your phone to activate the eSim plan, but the app isn’t available on the US Apple app store so you’ll need an Australian Apple ID in order to download it. I was originally going to go with this provider because they ran on Telstra, but even once I finally got the app it gave me all sorts of issues and I couldn’t get past the sign up.
- Telsim – Runs on the Telstra wholesale network
- felix mobile – Runs on Vodafone
- everyday mobile by Woolworths – Runs on the Telstra wholesale network
- amaysim – Runs on Optus
Physical sims only:
- Belong – Runs on Telstra
- Aldi Mobile – Yes, like the grocery store! Runs on the Telstra wholesale network
Having an Australian phone number is a great idea if you’re looking for employment while on your visa because then employers can call you! You also can’t signup for a lot reward programs or other things without a local number, so I would definitely get one. My first employer literally called me within 12 hours of submitting an application!
If you want to keep your US phone number while away (I definitely did!), switching to Tello is a great option as they have customizable plans for pretty low prices. I have my US plan as 1 GB of data and 100 minutes with Free Texting for about $6 USD a month. This is so I can still receive two-factor authentication messages. I’ve had my number for over 10 years and simply refuse to lose it. I have two eSims on my phone which means I have two active phone numbers!
Apply for a Tax File Number (TFN)
You’ll want to apply for this with the Australian Taxation Office. This is similar to having a social security number! It’s so you can pay taxes to the government and sign up for other government programs. Make sure you do this day one as it can take up to 28 days to receive. You’ll want to provide a mailing address where you can receive mail in Australia. A lot of people use their hostel! I got mine pretty quickly though, just a few days after I applied.
If you are sending it to a hostel, just give them a courtesy heads up you’re expecting a letter but this shouldn’t be a surprise to them. Also, you can start a job without one, but they’ll have to withhold a lot more taxes from your pay.

Get an Australian Bank Account
You’re going to need a place to receive money while you’re working! There are a few main banks in Australia such as Commonwealth (aka Commbank), Westpac, and ANZ (also available in New Zealand).
Commonwealth is very popular and you can actually sign up before even landing in the country. Just go to a branch once you land with your passport to verify your identity and done! This bank is very working holiday visa friendly as they don’t even require an Australian home address!
Personally, I signed up for Westpac, but this is because I got some poor information before I left the US and didn’t sign up for an account while in Sydney. Commonwealth doesn’t have a location in Cloncurry, Queensland, where I started working, so I wasn’t able to visit a branch. Thankfully, they had Westpac so I was able to get an account there and used my employer’s address as my own.
From your Aussie account you’ll be able to transfer money into you’re Australian Wise account and then back into USD then into your US account to pay bills as needed. It’s a lot of moving around, but if you’re trying to earn points and miles on US credit cards that’s what you’ll have to do. Otherwise, you can simply use your new bank’s debit card for purchases and taking out cash!

Set Up Your Superannuation Account (Retirement Fund)
Shortened to Super, this is basically Australia’s version of a 401K except it’s not specific to your employer! Which is honestly super (pun intended) nice!
Once you have your TFN and an address (can be a hostel, the accommodation your employer is providing, etc) you’ll be able to get an account that your employer will contribute to. Your employer has to contribute to this! Even though you’re not a citizen they must make contributions to you and once you leave Australia for good you can request a distribution. Of course, there’s a hefty tax on it, but at least you’ll get about 40% of whatever was contributed during your time.
There are a ton of different Super companies but honestly don’t overthink it. I went with AustralianSuper.

Set Up Your myGov Account
Honestly, you could also sign up for a myGOV account ahead of time. It’s pretty easy to do, but will let you have access to a bunch of information you’ll need for being legal while in Australia. You can also connect your TFN and USI accounts to it.

Get a Unique Student Identifier (USI) to Complete Certifications
You can apply to get your USI on the official Australian Government website. I did this the same day I landed, and it took less than 10 minutes! Make sure to add it to complete any certificates you may have started before getting into the country.
I also took a barista class in Sydney and they needed my USI to issue my certificates. If you’re planning on taking any kind of class you’ll definitely need one of these!

Complete Your 88 Days of Regional Work (Needed for Second Year Visa)
If you’d like to stay in Australia past the first year, you’ll need to complete three months of specified work! The official website has a breakdown of which post codes and work qualify. This is only necessary if you want to stay for at least two years. Unfortunately, the big cities don’t count!
Do be careful to make sure what you want to do is valid for the post code you’re looking at. It would suck to work for three months somewhere thinking you did your time only for your application to be rejected because the work didn’t qualify.
If you choose to do this, it’s better to knock it out early because if you change your mind with only two months left, tough luck. You also don’t have to worry about this at all if you’re sure a year is plenty for you!
If you want to stay for a third year you’ll need to do six months of specified work during your SECOND VISA in order to qualify. You also need to still be 30 or younger at the time of application. Unfortunately, I’ll never be able to get a third as I was already 30 when I arrived, two is the most I’ll ever get. *cries*
Final Thoughts
It’s totally ok to land in a big city to take time to settle and explore before finding work! Don’t freak out if things don’t go according to plan. I meant to stay in Syndey for a week and wound up being there for three weeks before I found work to complete my 88 day regional requirement. I also had a plane ticket to Cairns, canceled it, lost money on it, and then had to buy a new one somewhere totally different.
This is an adventure! Do something you might have never thought of or pick up a new skill. This is your year (or two or three) to make it what you will. Enjoy Down Under and Welcome to Australia Mate!